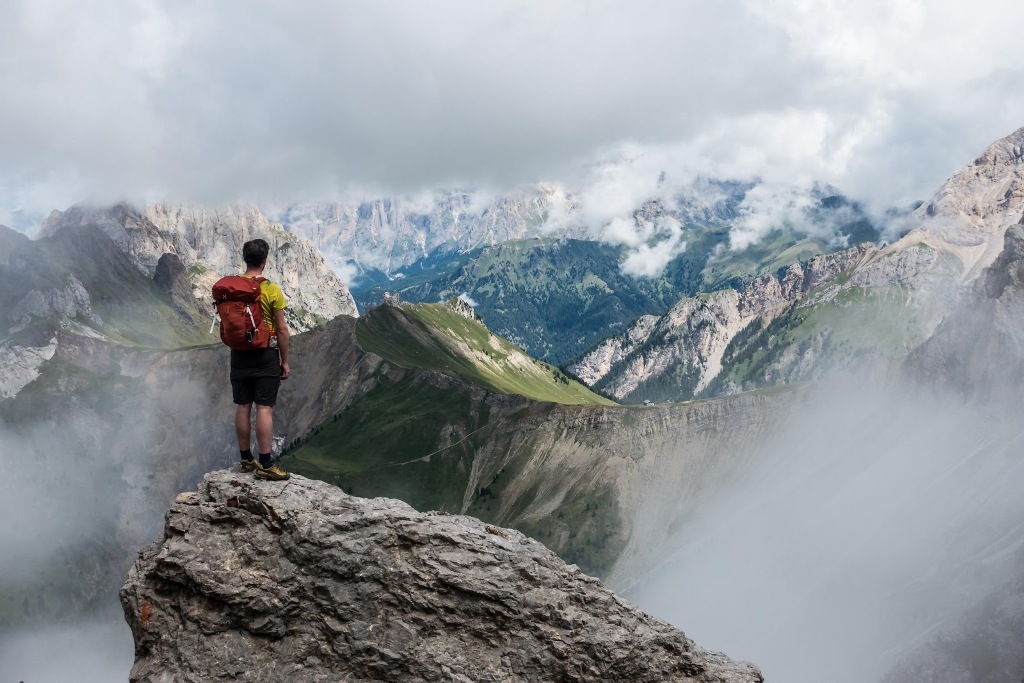
Hardcore hiking can take you over hilly ridges and around forest-covered mountain slopes. If you want to make the change from the level surfaces of a Class 1 to steeper gradients, but are unsure of how to conquer your fear of heights, we have some tips to help you.
Having the right gear is indispensable if you want to make a success out of hiking. The excellent gear reviews from Camp4 is a great start to ensure you cover the fundamental basics.
Now, let’s get started!
A Healthy Respect of Heights vs. Fear of Heights
No hiker should be encouraged to throw caution to the wind, no matter what their fears are. If you have a healthy respect for bad weather, lightning strikes, wild animals, getting lost, and heights, it means you’ll be prepared to face the worst if it comes down to that.
It’s the hiker who has no fear who usually runs into trouble.
So, don’t consider your fear of heights as unnatural and silly; being cautious about heights is a normal feeling of respecting danger. However, if your fear of heights is getting in the way of trekking mountainside pathways to get the most outstanding views, then it’s time to conquer this rational cautiousness.
Use Your Fear to Prepare
One of the best ways to approach a hike over an elevated terrain is by preparing yourself mentally, physically, and by packing all the gear you’ll most likely need. Some of those things can be done at home:
- Get a good night’s sleep
- Eat a well-balanced meal before setting off
- Check how your body feels – tired, rested, sore – this will indicate your physical fitness for the task ahead
What Physical Fitness Do I Need to Go on a Hike with Inclines?
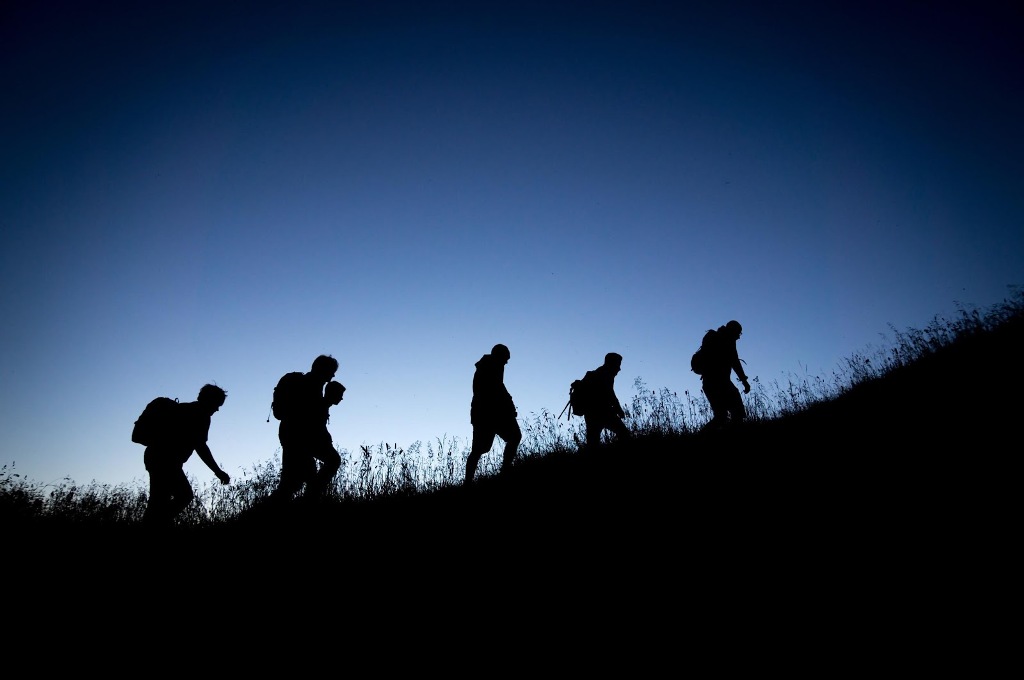
Climbing an incline uses muscles you never even know you had; the steeper the incline, the more strenuous it will be to reach the summit and you can use hangboard for climbing. Be realistic about your level of fitness before tackling a hiking trail that takes you up a hill or mountain. Part of your reluctance might be linked to whether you are able to reach the top of the trail and make it down again.
When you hike on a rocky, upward path, it forces your body to use the muscles around the ankles, knees, and hips. This helps build up your core strength. The more frequently you hike on the gently sloping terrains offered by Class 1 and Class 2 trails, the better your body will be prepared for a hike with serious heights.
Also, you may want to inform yourself about vital survival equipment before venturing out on one of these expeditions.
What Gear Do I Need When Hiking at Heights?
Once you know you are physically prepared for your projected hike, it’s time to look at what gear you should be carrying with you. It doesn’t matter if the weather is perfect when you set out, you need to minimize the impact any inclement weather you encounter could have.
- Extra layers
- Gloves
- Knitted cap that goes over your ears
- Sunglasses that don’t fall off when you lean over or slide down when your nose sweats
- Broken in hiking boots that grip and are comfortable
- Food/snacks/water
With a well-prepared hiking expedition, you won’t have to worry about something unexpected happening and turning back. This does a lot to alleviate your mind from unnecessary concerns.
Always Go Hiking Class 2 – 3 Trails in a Group or With a Partner
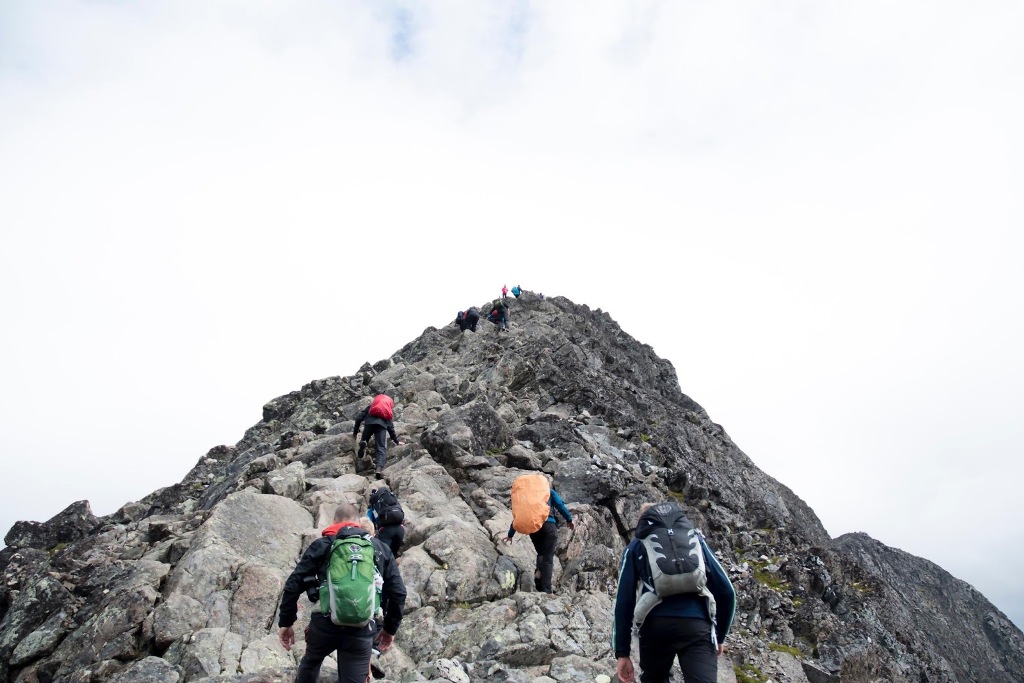
There’s something about teamwork that makes a task easier. If you have a group of keen hiking companions, they will be able to show you how to tackle the hardest trail inclines and talk you out of any unreasonable fears. By watching a few friends go first, with the certainty they will come back to help you by walking you through the technique if you need them to, it will make your concerns about hiking safely at heights disappear.
Never be afraid to reach out for advice or help if you hit a fear-of-heights wall on a hiking trip. An understanding hiking partner with experience or knowledge about your projected route is very reassuring to have. They will also give you the motivation you need to see the thing through.
How Can I Build Up My Confidence Before Hiking a Class 2 – 3 Trail?
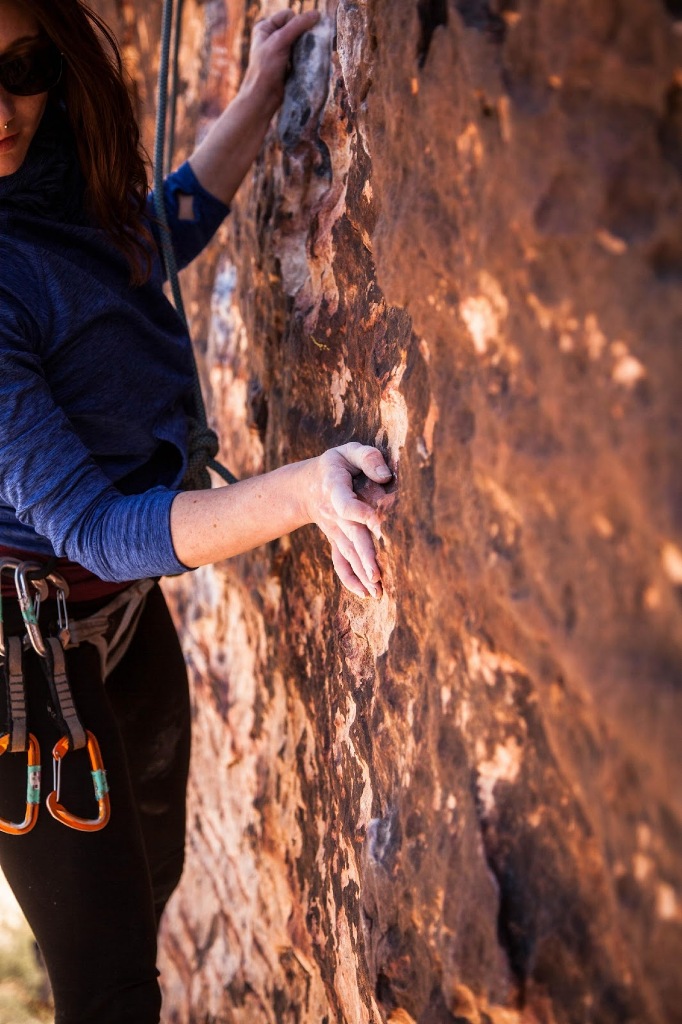
Besides transitioning from a Class 1 to a Class 2 hike gradually, and with the most preparation, you can take control over how you can approach a harder Class hike by training at a climbing wall. These gym facilities are really good at building up your upper body strength, flexibility, and height-tolerance in a highly-controlled environment with all the safety equipment you need.
Here is a breakdown of the conditions you are likely to encounter in the different classes of hikes. Look at them carefully before making up your mind to mentally prepare yourself to do one.
Hiking Classes and Difficulty Ratings
Hiking: Class 1 or Class 2 – no need to use hands for balance and stability.
Class 1 Hiking Trail: No need to use hands for balance and stability – No hands; walking; might be slightly steep or rocky.
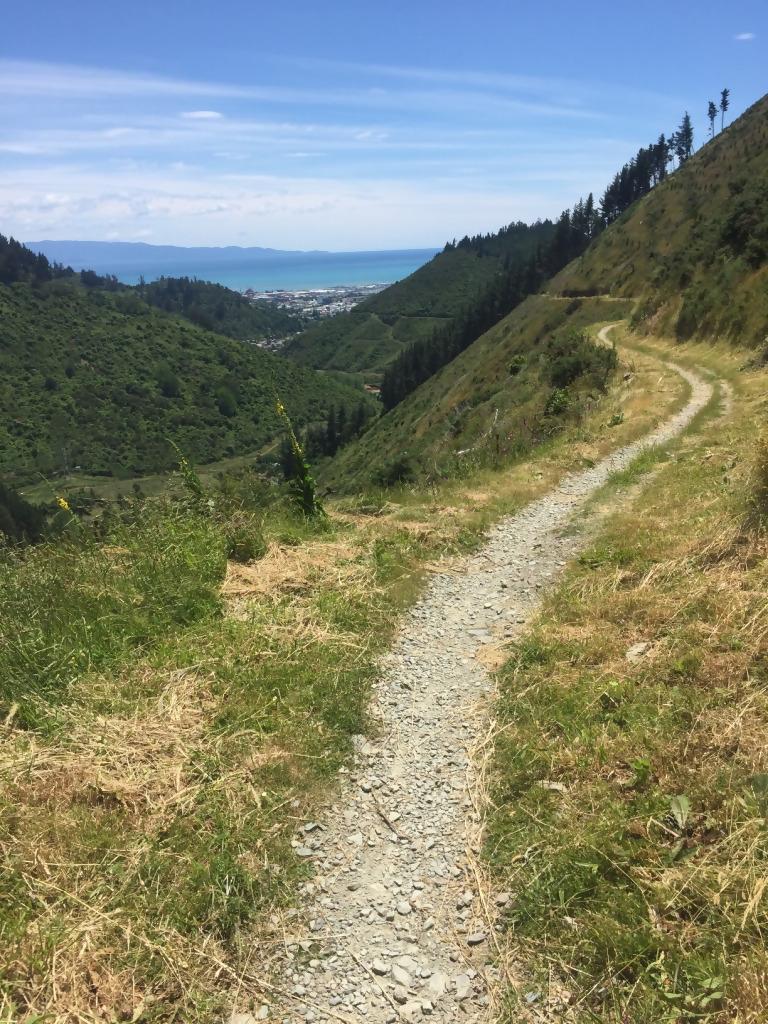
Nelson, New Zealand Class 1 Hiking Trail
Class 2 Hiking Trail: Occasionally use hands for balance; boulder-hopping; ridges; good fitness levels.
Class 3 Hiking Trail: Almost constant hand use; short falls possible; easy climbing; route is steep and terrain rocky; large handholds; no climbing gear needed; chance of death – zero.
This is where a hiking class becomes a scrambling activity, moving into a straight-up climbing activity. It’s a good idea to start conquering your fear of heights by hiking a Class 3 first.
Class 4: Hands always needed; sometimes rope; steep, exposed terrain; intense level of fitness needed; chance of death from fall – high.
Class 5: Hands; safety ropes; hands and feet in constant use; long falls.
Class 6: Hands; long falls; ropes; climbing equipment, and purpose-made climbing gear.
Once you have a better idea of the climbing, scrambling, and hiking classes, you’ll be able to gauge what level you are ready for now, and work your way up to the more difficult levels as you gain the confidence and experience you need.
What Other Hiking Techniques Can Help?
Many hikers swear that keeping a steady momentum and concentrating on simply placing one foot in front of the other is a foolproof strategy for taking someone’s mind off how high up they are going. This makes a lot of sense, because having all your focus on technique means your brain has no chance to stress about other things.
Remember, it’s your body’s instinct to look for the safe holds and ledges that will keep you safe. And no one’s brain is programmed to let go at an inopportune moment. If going at a fast rate doesn’t take your fancy, you can always go at a slower pace that allows you to stop and breathe while you think about what your next climbing technique will be.
It’s All Worth it at the End
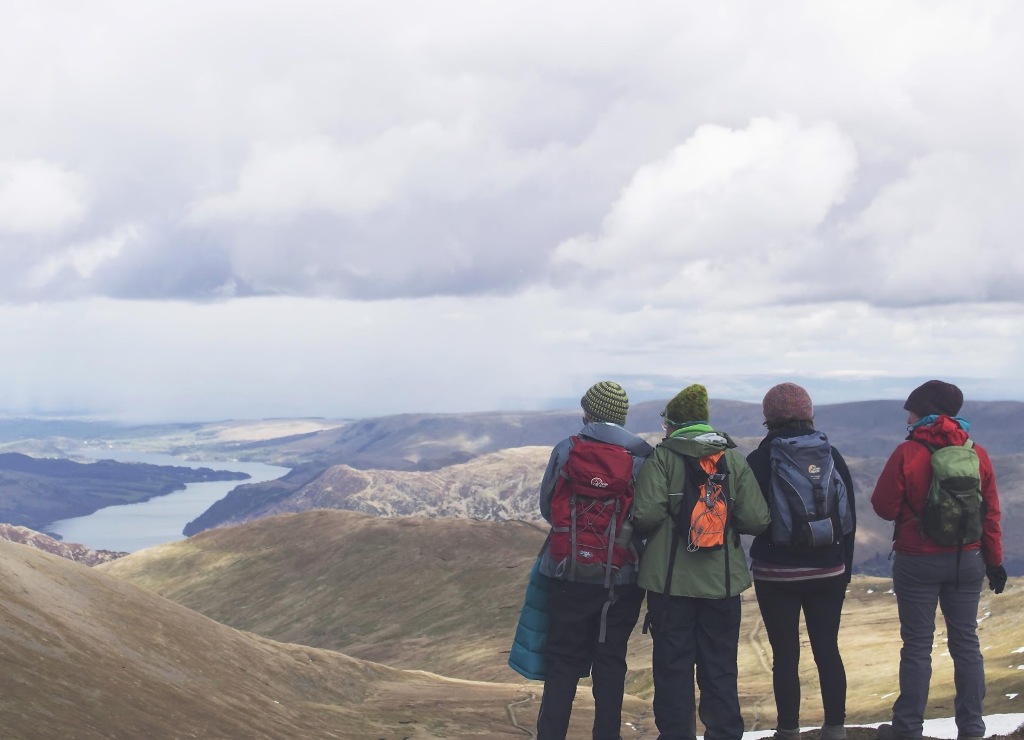
The burst of splendid scenery spreading out before you at the summit or trail pinnacle makes hiking a Class 2 or Class 3 route extremely rewarding. And if you’ve had to conquer your fears to get there, that’s double points.
Being cautious around heights is entirely natural and healthy, and shouldn’t be something you allow to call the shots over which trails you hike. When you have a good number of Class 3 hikes under your belt, it’s time to move on to the Class 3+ categories.
If you take the same measured approach of checking, preparing, and going in a supportive group, hiking at heights will fast become one of your favorite outdoor activities.
This is just the beginning. By conquering your fear of heights, it opens up a whole new sphere of outdoor pursuits for you to try out:
- King swings
- Bungee jumping
- Rock climbing
- Canyoneering
Get busy overcoming your fear of heights, and start gaining the most fun that can be had up high.

