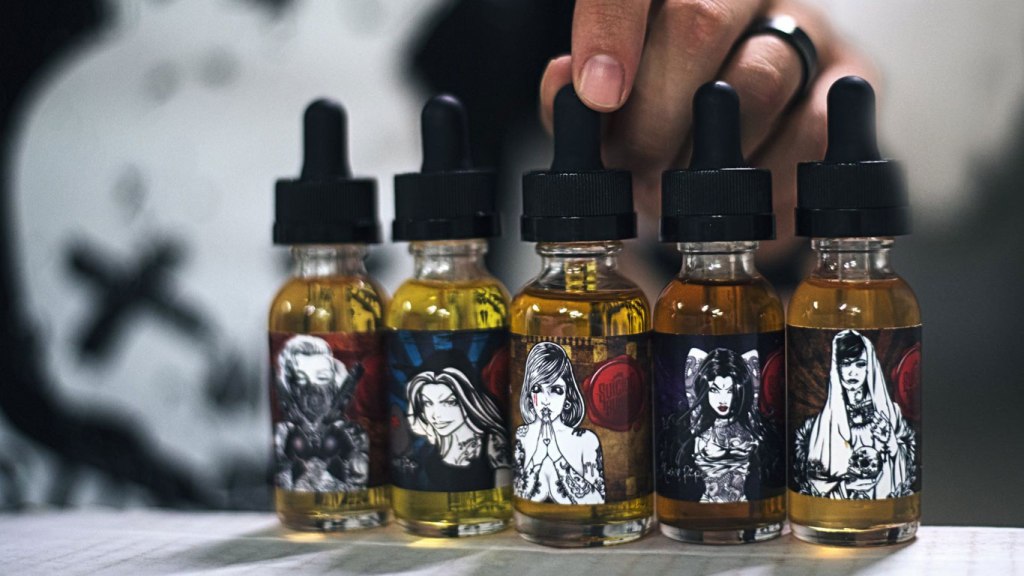
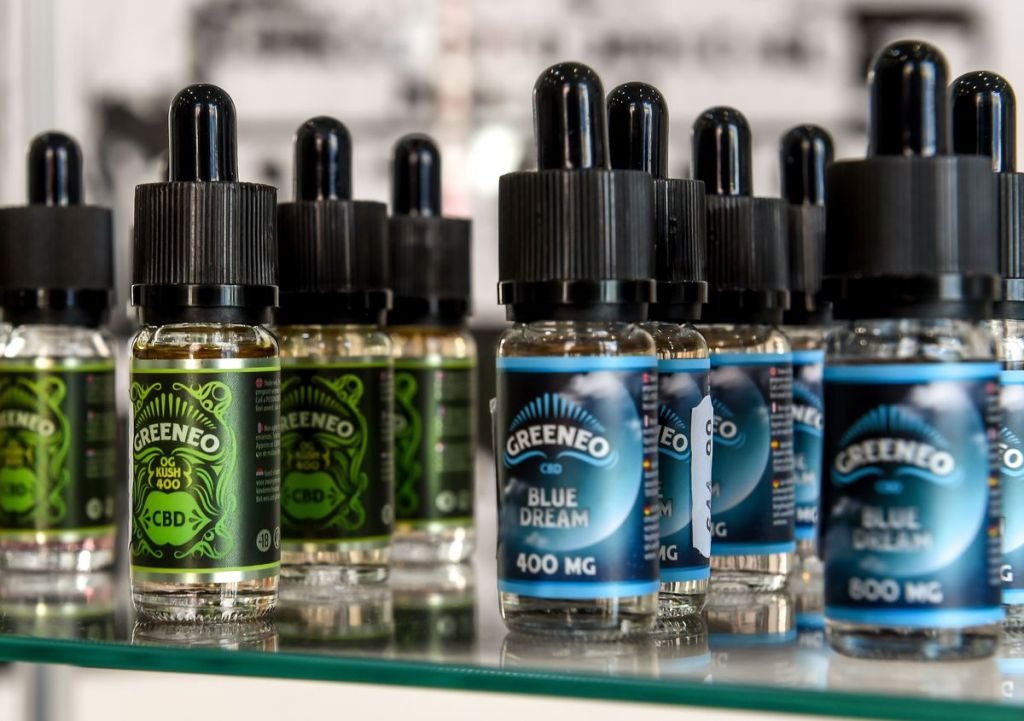
Getting high on thc e liquid regularly and having a supply that you can always use, is the dream of every stoner. But this doesn’t just stop there. Acquiring quality products is also among them. This is why in this article, we will be talking about how to make thc e liquid yourself. How cool is that?
Making the thc e liquid yourself can be really stressful, but it beats spending lots of money to get it and buying it from a retailer you’ve never met before because you don’t really know how it was made or the ingredients that were added to the mixture. This way to be on a safer side, making your own thc e liquid is advised.

The first step to making the thc e liquid is having all of the ingredients intact and ready to be used. Here is the list of ingredients and instruments you need to make the thc e liquid.
- High Proof (190+) Grain Alcohol.
- A bowl (very important)
- Baking sheet and an aluminum foil
- Blunt tip syringes(To get your measurements correct, you don’t want to mess things up)
- Rubber Gloves( really important for the protection of your skin.)
- 5-6 grams of high-quality finely chopped weed
- Two large mason jars
- A large pot (for boiling)
- Propylene Glycol
- Cheesecloth
- Pure Alcohol or Everclear
- Stove-top
- Water
- Dropper bottles
Now, you know what to get when you go shopping for the things you need to make that thc e liquid. Next are the steps to follow when making thc e liquid.

- The first step is a chemical process called decarboxylation. It is the process of removing carboxyl and replacing it with hydrogen. All you need to do here is to put your chopped weed into the pyrex bowl, cover it up with your aluminum foil and baking sheet, and bake it in the oven for 15minites on a 225-250 degrees F. Take it out after 15minutes.
- Next, you put in your well-baked brownish weed into the mason jar and pour in the alcohol. (It should be able to make the weed go under.)
- Add water into your big pot, and then slowly place the mason jar directly inside the pot.
- Turn on your stove, place it on low heat(you don’t any mishaps), and stir the weed in the jar steadily. By boiling and storing this mixture, you’re evaporating the excess alcohol. Keep stirring the mixture. While doing this, keep your eyes on the weed, and watch it get brown. Once it’s brown enough, take the put off the stove, turn it off, and let it sit till it’s cool.
- Straining the contents of the mason jar is what comes next. All you need to do is cover the second mason jar with your cheesecloth and drain out the contents from your first mason jar. As soon as everything is out, strain the cheese clothes, together with its contents inside the second mason and you’re good to go. The end product is usually a dark brown liquid.
- This step is where a high level of concentration is needed. Here, you add a little bit of water ( not too small, not too big), turn on your stove, place the pot back on it, and put the mason jar with the dark brown liquid inside the pot. (Now you’ll have to leave the mason jar inside the pot till there’s just 5ML of liquid left in the jar. You can use the syringe to check if you’re not too sure.)
- Now you add 20 MG of Propylene Glycol into the mason jar.
- Carefully take out the mason jar from the pot.
- This is the last step. This is where you properly make use of your syringe. Carefully extract the liquid from the mason jar and put it in your dropper bottles.
Now, your very own homemade thc e liquid is ready for your own consumption and you don’t need to get worried about breaking to the bank to vape or getting poor quality thc e liquid. You can check terpenes for sale here.

