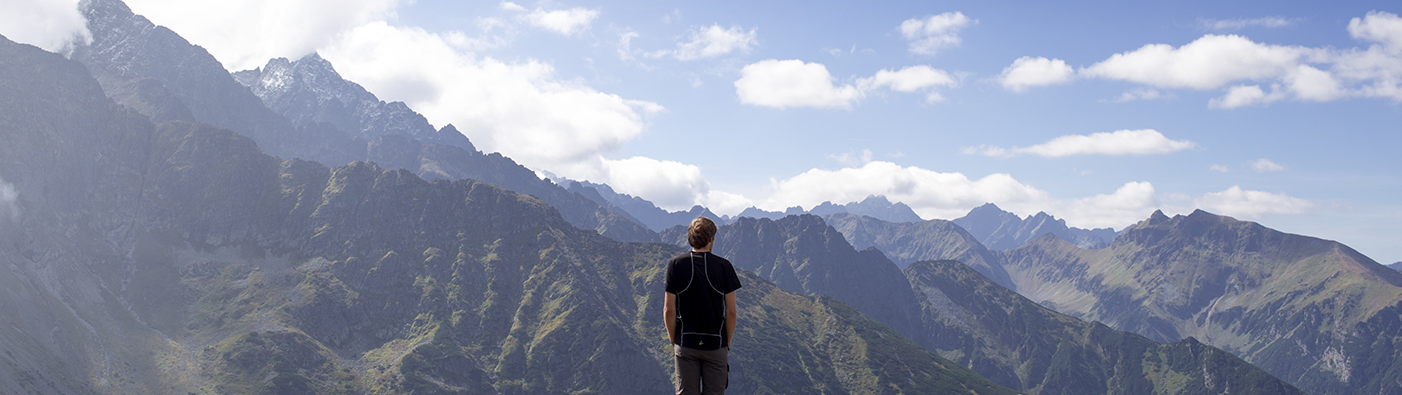
Taking photos is like stopping the time for a second. It’s creating memories, remembering history and culture; it’s everything. Photography seems like something everyone is into lately, yet very few people know how to do it right. You don’t want to be an amateur all your life. It’s time to improve your skills and make you the best at your passion.
The easiest way to get better at picture taking is to look for free courses online, like https://photographycourse.net/. But even after some training, you might want to know some extra tricks to help you stand out even more in the photography world. And these fifteen tips are here to help you.
Cardboard shapes
Cutting shapes in cardboard will help you in creating shades in your pictures. This technique follows the lighting style called chiaroscuro lighting, that was used in french new line cinema. Cut any shapes you wish, and create unique shades, for example, over your model. This simple hack will make your pictures look as if they came out of a professional studio.
Tourists removal
If you ever managed to take a photo of a fantastic landscape or monument, that it is probably full of people passing by. Famous places tend to be crowded, and there is one way in which you can handle this problem. Download a program called Photoshop, and make sure to erase unnecessary items or people that are blocking your scenery. Take as many pictures as you can; this will help the program remove objects from the photograph.
Use a sandwich bag
Hazy effect on your photos might be the wow factor you want. To achieve this type of effect, you need to cut a hole in a sandwich bag. Then attach the bag to your lens making sure parts of it cover the frame of your lens view. One-click and you have an instant hazy photo.
Tea strainer to the rescue
Another shadow effect hack on the list. Please, do not throw out your old tea strainer, use it to create the most thrilling shadow effect. Take advantage of natural light and cover your lens with a strainer and watch the magic happen. Just make sure the object you want to take a picture of is close enough.
Free backdrop
If you don’t have much time or money to invest in stunning backdrops, this tip is for you. Put a bokeh background on your laptop screen and use it as a backdrop. Simple and effective way when you want to take a great picture of a small object.
Plastic cup macro photography
Implementing this photography technique requires you to prepare a plastic cup, scissors, and some tape. First, cut a hole at the bottom of the cup. Then attach it to your lens and secure it with a little bit of tape. Cover your subject with the cup and make a steady photo with great lighting.
DIY lightbox, anyone?
You can spend a lot of money on a lightbox, but why would you when all you need is a piece of a cardboard box, tissue paper, box cutter, and packaging tape. The easiest way to learn how to do a lightbox is to follow one of many video tutorials online. There are seven simple steps in creating a DIY lightbox, it will take no more than 15 minutes.
Capture high-speed drops
A tip that represents the fancy side of photography. To capture high-speed drop and make a name for yourself in picture taking, you need to prepare a bowl, glass, milk, food dye and a straw. Fill your glass with milk and place it on the top of your bowl (upside down). Set the Speedlight on your camera. Drip the food dye with one hand and shoot with another. You might need to be patient, but the final photo will be worth all the effort.
Add some steam
A hack that is designed for all the foodies out there. Food photography might be challenging, as pictures of food tend to be pretty dull. Fortunately, you can fix this by adding steam with a steam iron. When you edit, remove excess steam from the photo, and make it even more perfect.
Soft-focus lens effect
All you need to create soft-focus in your pictures is a piece of cloth and an elastic band. Cut an X-shaped hole in the fabric and put it over your lens. Then secure the cloth with an elastic band. Creating creative pictures has never been so easy.
Sun protection for the lense
Take a pair of your old sunglasses, clean it precisely and put it in front of your lens to create a photo filter. No Instagram or new technology required yet incredible photos.
A vaseline vignette
Vaseline and photos, really? Absolutely! It is not only a cosmetic you put over your dry lips, but vaseline also has many other usages. Place a cling film or polarising lens filter over your lens to protect it. Then put on some vaseline on the sides. This will create an exciting vignette to your pictures.
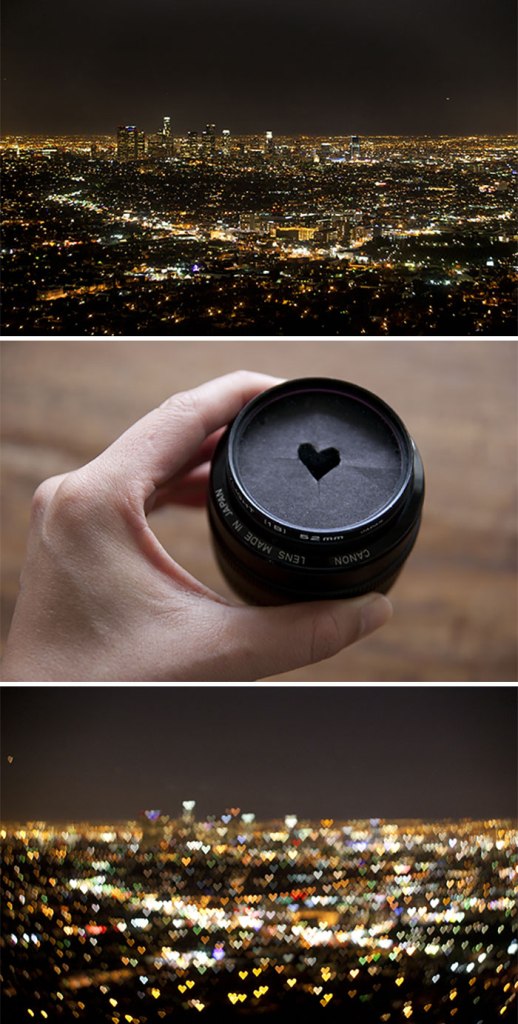
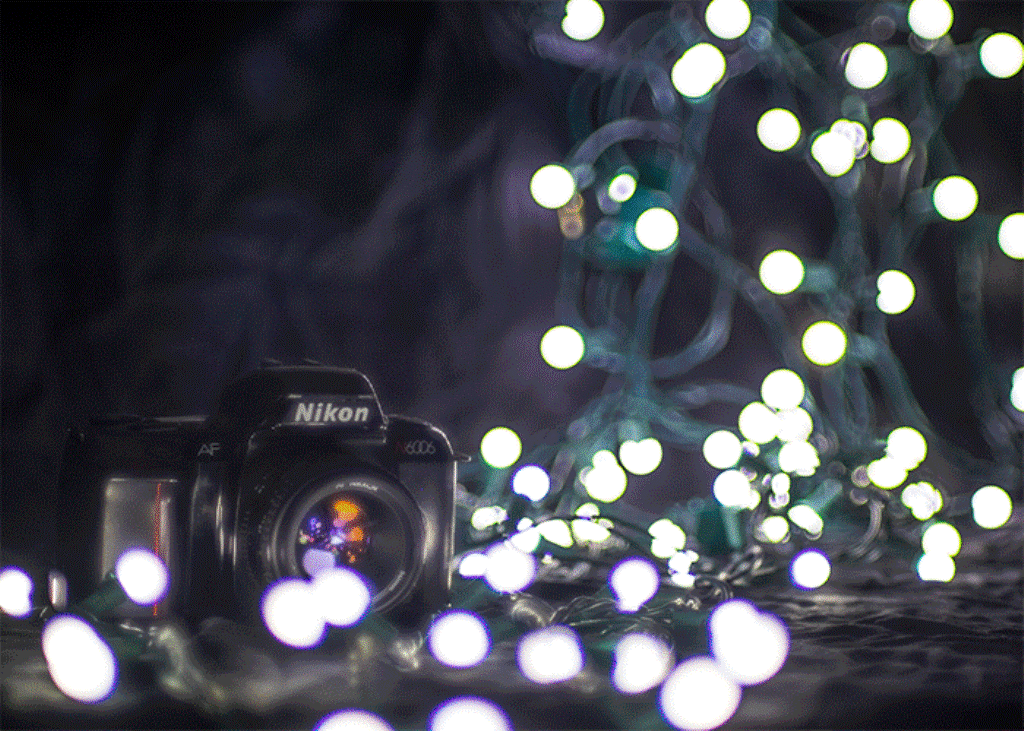
Custom bokeh shapes
If you are a DSLR camera owner, this tip is for you. Make a round tube out of dark paper that will match the shape of your lens. Cut the shape and attach it at the end of the tube with a little bit of tape. Then, use a low aperture setting and shoot your images toward a light source, and that’s it.
A rain cover for your camera
To protect your camera from the weather, all you need is a zip-lock bag, tape, marker, and a pair of scissors. Mark the size of your lens on the bag and cut a hole. Then, turn the bag inside out and place your lens protector inside. Tape it to the bag, and there you have it, a raincoat for your camera. You can now take pictures, no matter the weather.
A hood for your lens
Use a coffee hood as a lens hood and stop random light from interrupting your perfect image. Place it over the end of your lens and create some great pictures.
With all these tips, there is no way that you will not turn into a pro. Outshine your photography competition with easy and cheap hacks that will help you create a wow-factor to your pictures. Start taking stunning photos and have fun doing it.