

If you’ve decided to repaint your home, then you’re undoubtedly looking forward to enjoying fresh new look in your home! However, repainting can certainly be an overwhelming process and you’ll want to make sure you’re adequately prepared. Take a look at these 10 most effective tactics on how to repaint to set yourself up for success.
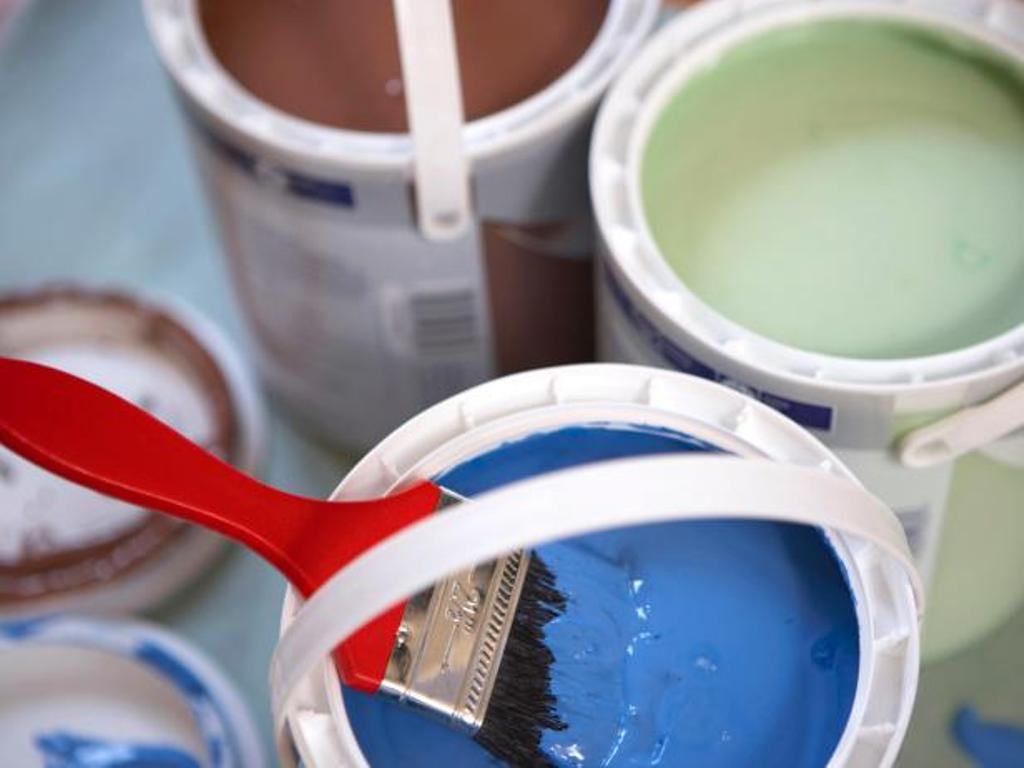
1. Mix several cans in the same bucket to ensure uniformity.
If you have several different buckets of the same paint color to paint several walls with, then you might want to try mixing them together in a large bucket to make sure there’s no unwanted variation. After all, no matter how carefully paints are measured, there’s an inevitable margin for error.
2. Make sure all surfaces are clean before you start painting.
This especially holds true for bathrooms, where soapy film can build up after steamy showers, and kitchens where grease can coat your walls.
After vacuuming and dusting away and cobwebs or debris and making sure your walls are clean, use sandpaper to smooth any imperfections that you find.
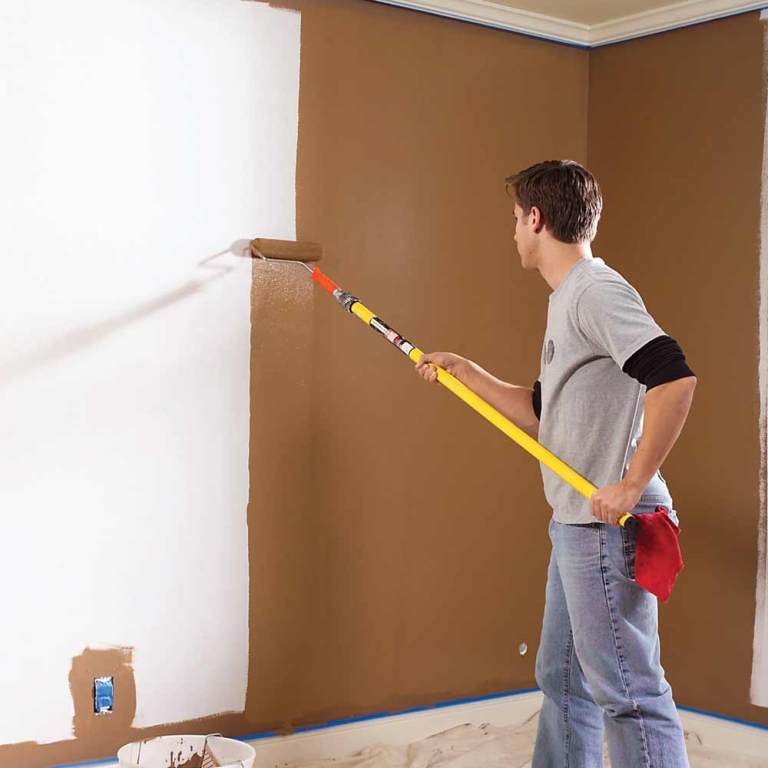
3. Look at all roller options to select the best for your job.
Not all rollers are created equal! Some have longer pile on the roller, which is what you want if you’re painting a textured surface like plaster. However, using a roller with longer pile can result in uneven, unwanted texture on smoother surfaces.
4. Maintain a wet edge and roll in long strokes.
One of the big things you’ll want to avoid while painting is “lap marks,” or hard paint edges that overlap. To decrease the risk of lap marks, keep a wet edge until you finish the entire wall or panel. If you don’t have time to keep a wet edge, feather the paint out instead to avoid a harsh line.
5. Don’t over-soak your rollers and brushes.
While you might think that more is better in terms of paint coverage, you’ll want to avoid overloading your brushes and rollers. Not only does excess paint increase the likelihood of drips, splatters, and spills, but it can compromise the texture of the paint you lay on the wall as well.
6. Make sure all outlet and switch covers are out of the way.
This quick preparatory step will save you a lot of trouble and give you a far more finished look when you’re done repainting. Unscrew all your light switch and electrical outlet covers before you paint, and cover the exposed sockets and switches with painter’s tape to keep them clean.
7. Get all the paint you’ll need, plus some extra.
This one might seem obvious, but lots of people start painting only to discover that they haven’t purchased enough paint. When you get your paint, consider the size of the area you’re covering as well as the number of coats you intend to lay down.
Ideally, you’ll wind up with a little bit of extra paint leftover when everything’s done–keep this on hand in case you need to touch up chips later on down the road.
8. Don’t skimp on the quality of your painter’s tape.
Cheap painter’s tape without enough tack to the adhesive will form a poor seal and allow paint to seep under the edges. This will result in the very types of blemishes you’re trying to avoid by using tape in the first place!
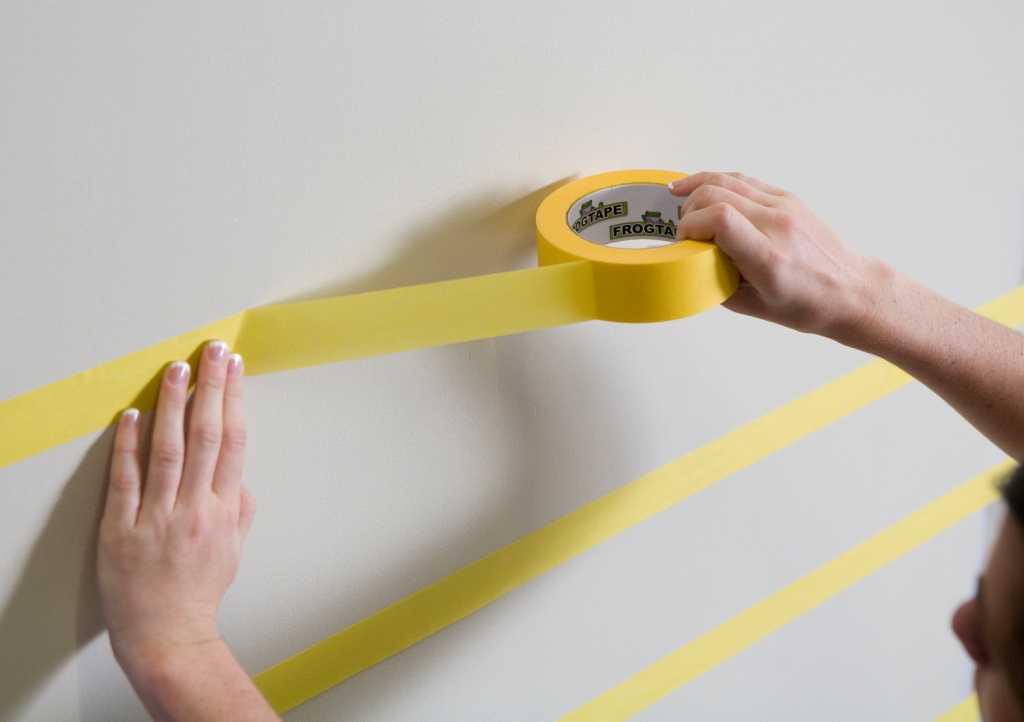
Better yet, don’t skimp on anything. High quality painter’s tape, rollers, and the paint itself makes all the difference.
9. Use a utility knife to cut the tape free after the paint has dried.
Most people think it’s best to pull up the painter’s tape before the paint dries, or to simply strip it off haphazardly when the drying time is done. However, these approaches can result in a smeared or chipped paint line.
For better results, let the paint dry and then use a utility knife to cut along the tape’s edge just before you remove it to prevent chipping.
10. Roll where you’ve cut in for a consistent texture.
Another common mistake that people make when repainting is thinking that once they’ve cut in to apply paint around trim and molding, they’re done. However, brushes and rollers don’t provide the same texture, and you might wind up with inconsistent texture if you aren’t careful.
To keep things uniform, use the roller even around door jambs, trim, and windows after you’ve cut in with a brush.
Remember:
While these 10 effective tips on how to repaint your home will certainly set you up for success, some people still find the do-it-yourself process to be overwhelming!
If you’ve gone down the list of tips and feel like you’d rather leave it to the professionals, Pridal Painters Adelaide can help. With a skilled team to provide high-quality repainting services, you’ll be able to sit back and fall in love with your home all over again!